
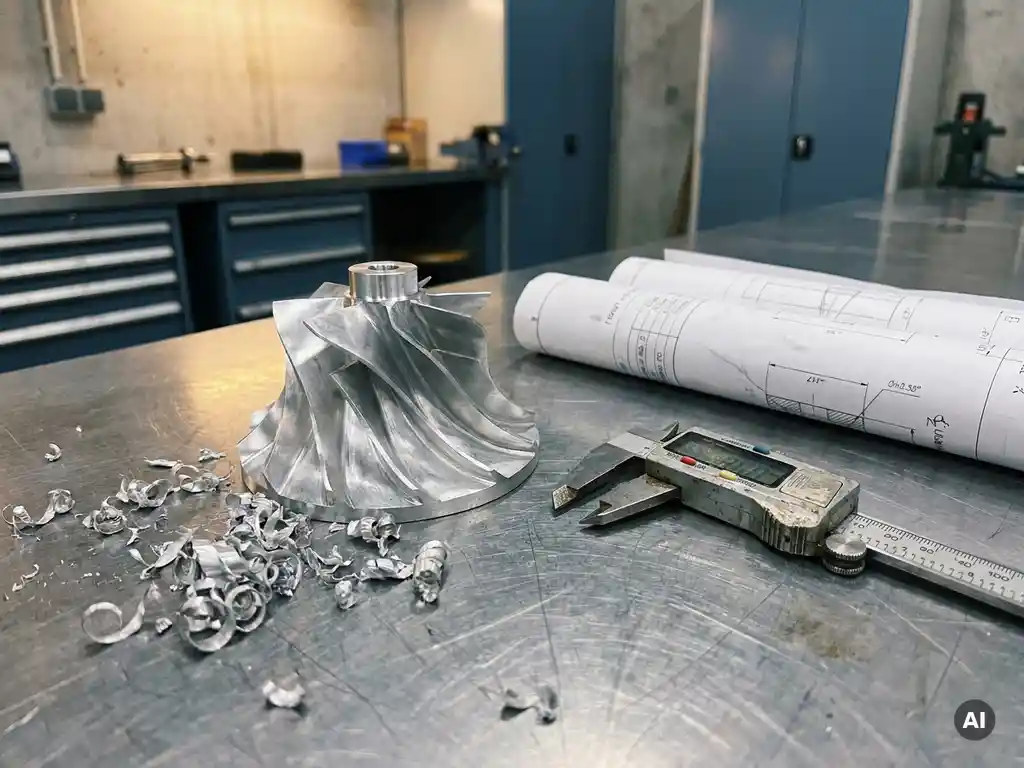
Mechanical prototype development moves through a sequence of defined stages, starting from initial concept validation and progressing through functional builds, refined engineering models, and pre-production units. Each stage has a specific purpose: reducing uncertainty, confirming design assumptions, and generating the evidence needed to justify the next investment. The sections below address the most common questions engineers and project teams ask as they navigate this process.
How does a mechanical prototype move from concept to physical build?
A mechanical prototype moves from concept to physical build through a structured sequence: the design intent is first captured in CAD models or sketches, then translated into a low-fidelity proof-of-concept, and progressively refined through increasingly detailed builds as confidence in the design grows. Each transition is triggered by evidence gathered at the previous stage, not by a fixed timeline.
The starting point is typically a design brief that defines the functional requirements, dimensional constraints, and performance targets. From there, engineers develop geometry in CAD software, running simulations to identify obvious weaknesses before any material is cut. This virtual phase is where the majority of design decisions are made at the lowest possible cost.
Once the CAD model reaches a workable state, the first physical build is produced. At early stages, this is often a rough representation, made quickly to answer a specific question about geometry, fit, or basic function. As answers accumulate, the design is updated and the next build incorporates those changes. The process is iterative by nature, and the number of physical builds required depends on the complexity of the component and how many assumptions need testing.
For teams working in aerospace development, this sequence is particularly disciplined because the cost of discovering a flaw late in development is substantially higher than in most other industries. Structured stage gates, formal design reviews, and documented test results are standard practice rather than optional additions.
What types of prototypes are used at different development stages?
Different prototype types serve different stages of development. Proof-of-concept models address feasibility. Engineering prototypes validate function and performance. Pilot or pre-production prototypes confirm manufacturability and assembly processes. Each type is built with a different level of fidelity and evaluated against different criteria.
Proof-of-concept prototypes are deliberately rough. Their purpose is to answer a binary question: can this idea work at all? They are often made from whatever material is cheapest and fastest to work with, and they are not expected to represent the final product in any meaningful way beyond the specific aspect being tested.
Engineering prototypes are built to closer tolerances using materials that approximate the final specification. These are the builds where performance data is collected, stress behaviour is observed, and interfaces with adjacent components are checked. The goal is to confirm that the design will meet its requirements under realistic conditions.
Pre-production prototypes are built using the intended manufacturing processes and materials. Their purpose is to validate the production method itself, not just the design. Assembly sequences, tooling requirements, and quality control checkpoints are all evaluated at this stage before committing to full production tooling.
How is material selection handled during prototype development?
Material selection during prototype development is handled in stages, with the prototype material chosen to match the questions being asked at each phase. Early prototypes often use substitute materials that are cheaper or faster to process. Later-stage prototypes use the intended production material so that thermal, mechanical, and surface behaviour reflect what the final part will experience in service.
At the proof-of-concept stage, the material choice is driven entirely by speed and cost. Additive manufacturing, foam, or soft tooling plastics are common because they allow rapid iteration without committing to expensive machining or casting processes. The prototype does not need to survive real operating conditions; it needs to exist quickly enough to test an assumption.
As development progresses, material fidelity becomes more important. An engineering prototype intended to generate performance data must behave the way the final component will behave. For high-temperature or high-stress applications, this means using alloys or composites that match the production specification, even if the prototype is produced by a different manufacturing route than the final part.
By the pre-production stage, the material and the process must both match the intended production standard. A component machined from the correct alloy but using a different heat treatment, for example, may give misleading results during testing. Material traceability and process documentation become standard requirements at this point.
What role does testing play in each prototype stage?
Testing at each prototype stage is calibrated to the questions that stage is designed to answer. Early-stage testing is qualitative and exploratory. Later-stage testing is quantitative, instrumented, and designed to generate data that can be compared against formal performance requirements.
At the proof-of-concept stage, testing is often observational. Does the mechanism move as expected? Does the geometry fit within the envelope? Does the basic operating principle produce the intended effect? Pass or fail is often determined by direct observation rather than measurement.
Engineering prototype testing is more rigorous. Load cases are applied, temperatures are measured, flow behaviour is observed, and the results are compared against predictions from simulation. Discrepancies between predicted and measured performance drive design changes. This is the stage where instrumentation choices matter most, because the quality of the data collected determines how confidently the team can proceed.
Pre-production prototype testing focuses on process validation. Dimensional inspection, surface finish measurement, and assembly fit checks confirm that the manufacturing process produces parts that meet the design specification consistently. Durability and endurance testing may also be conducted at this stage to confirm that the part will survive its intended service life.
For components in the mechanical engineering sector where performance margins are tight, structured test campaigns with documented results are the standard approach. The data from each stage feeds directly into the decision about whether the design is ready to advance.
When should a prototype be iterated versus advanced to the next stage?
A prototype should be iterated when the current stage has revealed a flaw that the next stage of build fidelity cannot address without first resolving it. It should advance when the questions assigned to the current stage have been answered and the results meet the criteria defined at the start of that stage. The decision is driven by data, not by schedule pressure.
One practical way to make this judgment is to return to the test objectives defined before the prototype was built. If those objectives have been met and the results fall within acceptable limits, the design is ready to progress. If results fall outside limits, or if testing exposed a question that was not anticipated, iteration is the appropriate response.
The temptation to advance prematurely is common, particularly when schedule pressure is high. Advancing a design that has not passed its current stage simply defers the problem to a later, more expensive point in development. A flaw found in an engineering prototype costs considerably less to correct than the same flaw found in a pre-production build or, worse, in service.
Iteration is also appropriate when a design change made in response to test findings is significant enough to introduce new unknowns. A minor dimensional adjustment may not require a full rebuild. A change to the structural load path or the thermal management approach likely does.
What are the most common failure points across prototype development stages?
The most common failure points in mechanical prototype development are unclear test objectives at the start of each stage, insufficient design freeze discipline before committing to a build, and poor information transfer between design, analysis, and manufacturing teams. These issues appear repeatedly across industries and project types.
Unclear test objectives produce prototypes that generate data nobody knows how to interpret. If the team has not defined in advance what a passing result looks like, the prototype will be built and tested, but the decision about whether to iterate or advance will be made on instinct rather than evidence. Writing the acceptance criteria before the build begins forces clarity that benefits the entire development process.
Design freeze failures occur when changes continue to be made to the design after the build has started. This is particularly damaging at the engineering prototype stage, where the build itself may take weeks or months. Changes made mid-build often create inconsistencies between the as-built part and the current CAD model, making test results difficult to interpret and trace.
Information transfer between teams is a structural problem that affects projects where design, analysis, manufacturing, and test functions operate in separate groups. When the engineer who designed the component is not present during testing, observations made during the test may not reach the person who can act on them. Structured handover documentation and cross-functional review meetings reduce this risk, but they require deliberate effort to maintain.
How AneCom supports prototype testing and validation
AneCom AeroTest provides engineering teams with the testing infrastructure and specialist expertise needed to generate reliable data at each stage of the prototype development process. For teams developing compressors, fans, combustors, or turbine components, AneCom offers:
- Aerothermal component testing using dedicated test benches, including multistage compressor and fan testing at the Compressor Test Center in Wildau
- Acoustic validation in Europe’s largest anechoic chamber, where fan noise behaviour can be measured under free-field conditions without weather or environmental interference
- Full instrumentation, assembly, and test execution managed from a single source, reducing coordination complexity for engineering teams
- Non-destructive testing services to assess prototype components without destroying them, supporting iterative development cycles
- On-site engineering support at customer facilities worldwide, covering design, analysis, and test planning
Whether a project is at the engineering prototype stage and needs performance data to validate a design, or at the pre-production stage and requires process confirmation, AneCom’s facilities and engineering teams are structured to support the full prototype development sequence. To discuss your testing requirements, contact the AneCom team directly.